How Professionals Remove Scratches From Your Car
Introduction:
In today's fast-paced world, your car is more than just a mode of transportation; it's a reflection of your personality and style. Keeping it in pristine condition is essential, not only for aesthetic appeal but also to maintain its value. One common issue car owners face is scratches, which can detract from the vehicle's appearance and lead to rust if not addressed. At Next Level Detail Victoria, we specialize in polishing paint and removing scratches, ensuring your car looks its best. This guide will provide you with detailed insights into how to remove scratches from your car, leveraging our expertise in the field.
Understanding Different Types of Scratches

Clear Coat Scratches
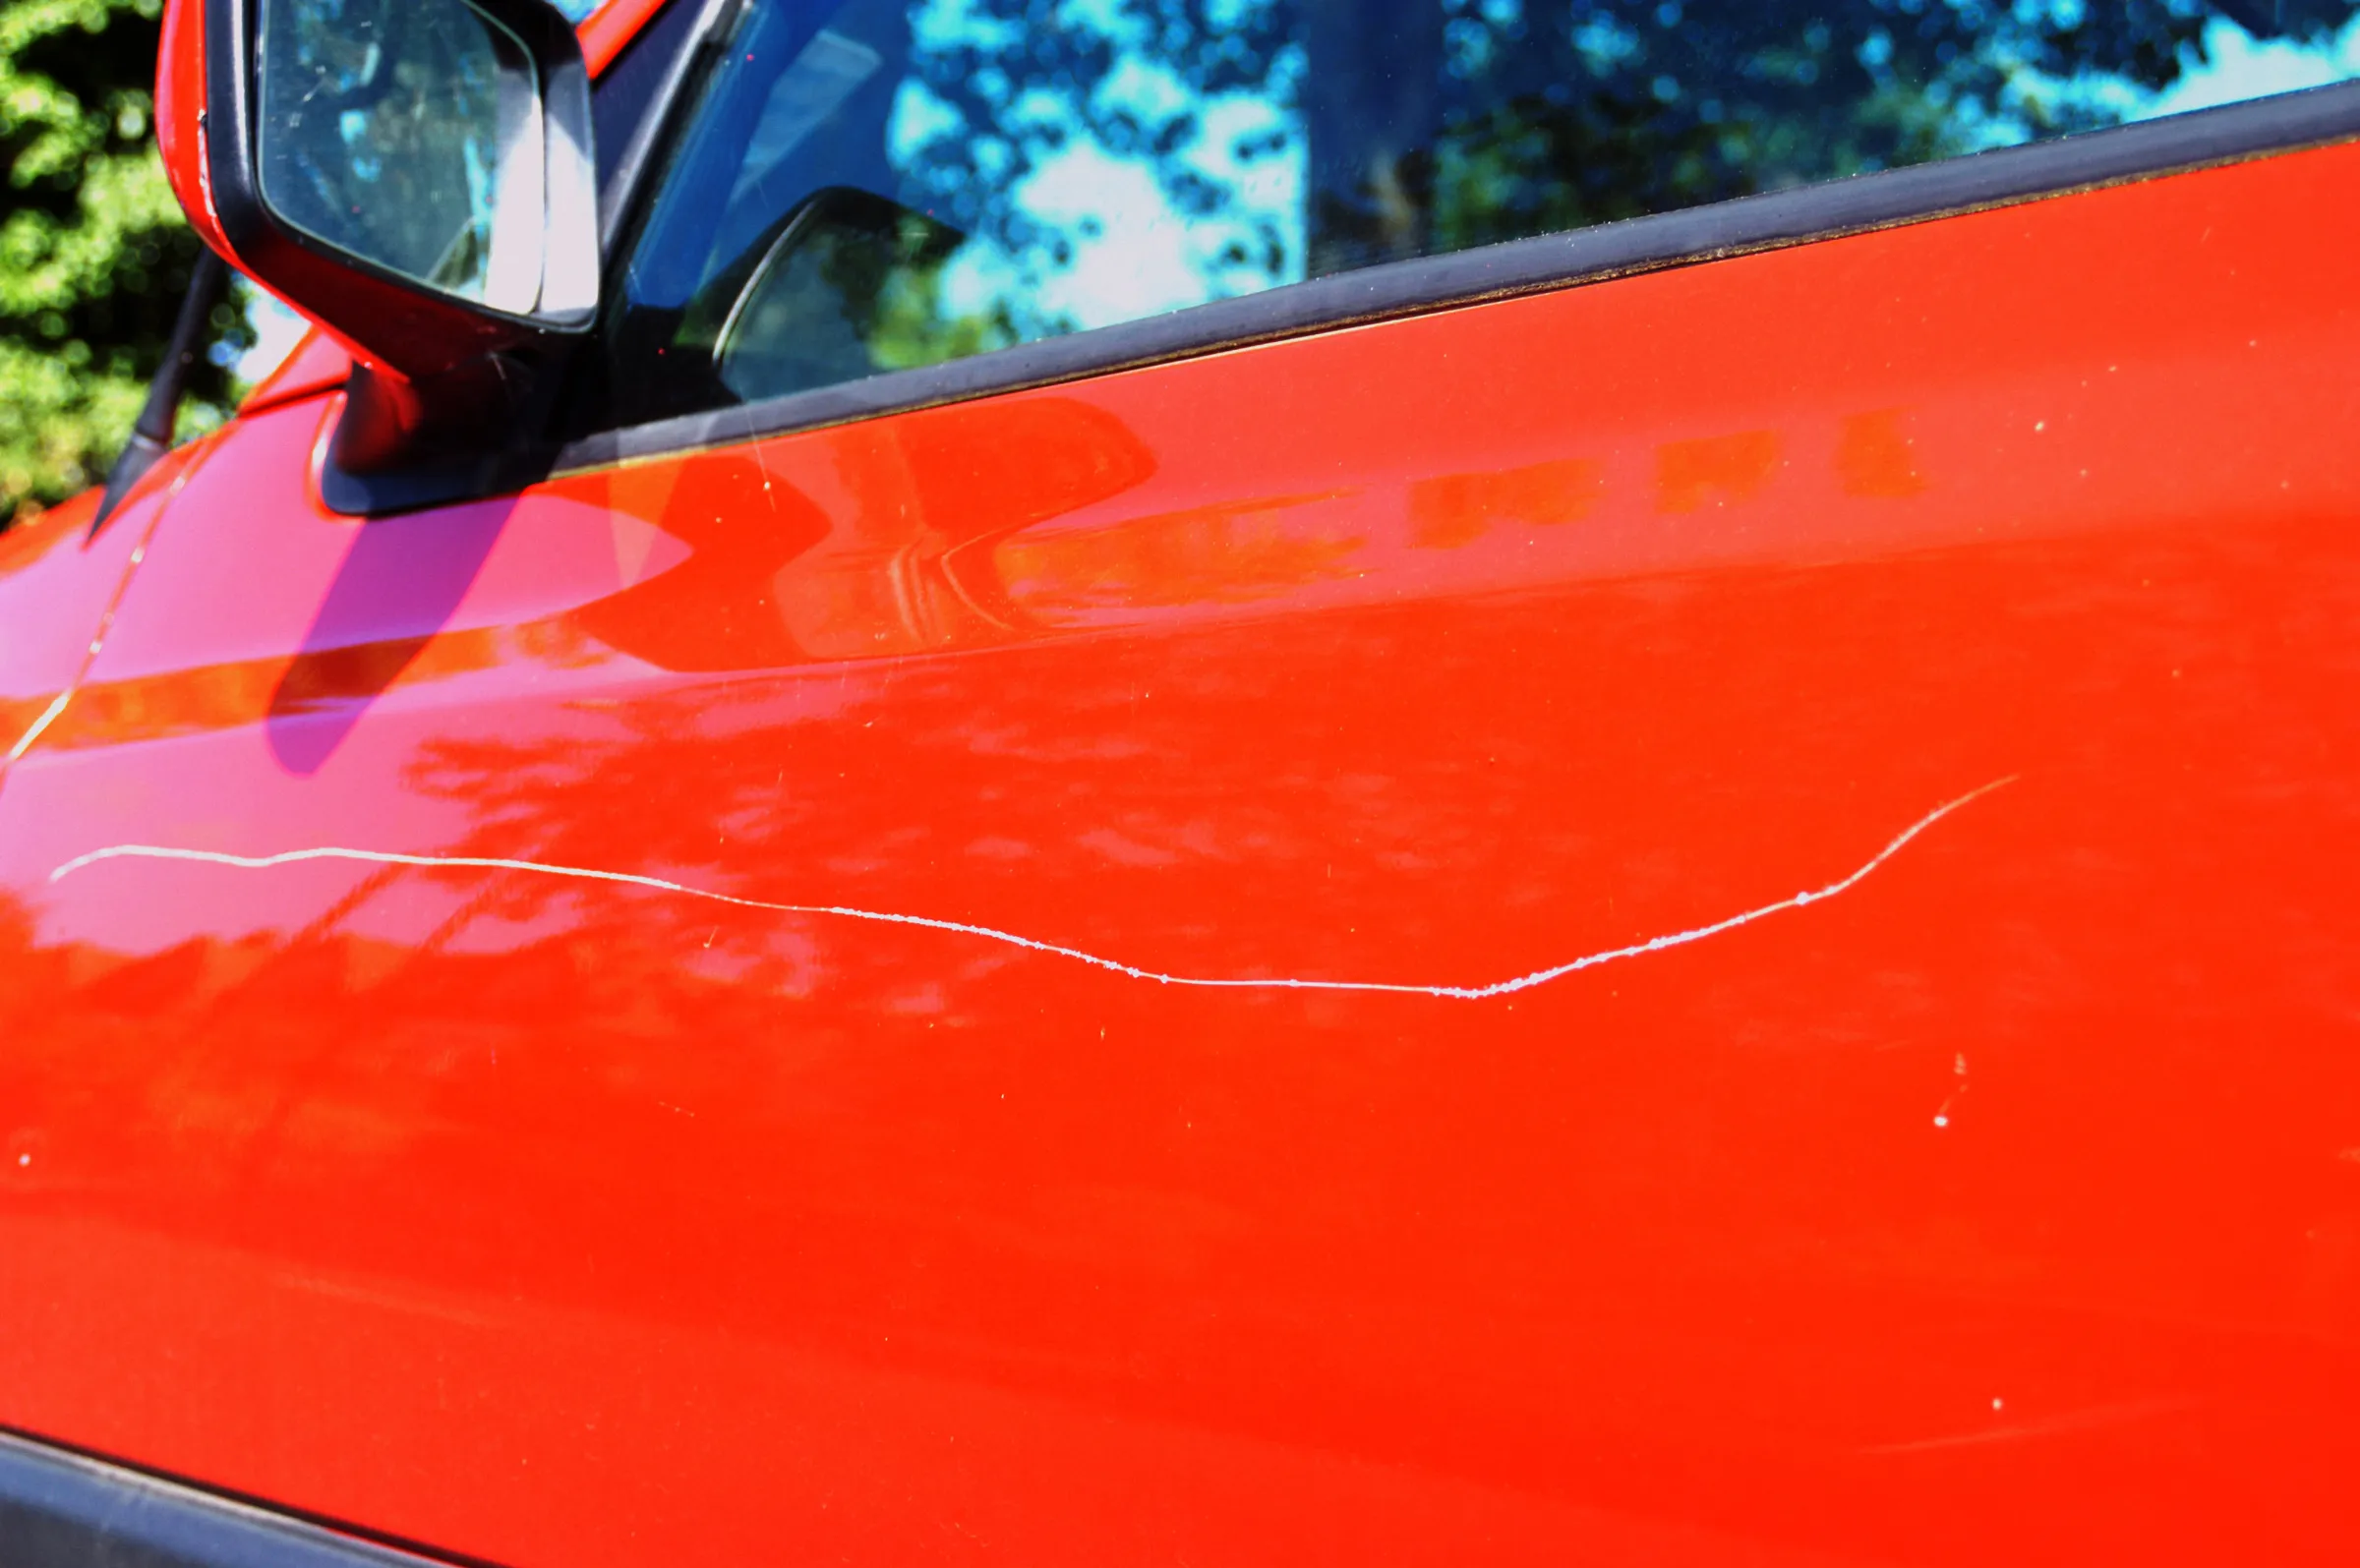
Description: Clear coat scratches are superficial blemishes that affect only the outermost layer of your car's paint job. This layer, known as the clear coat, is designed to protect the pigmented main layer of paint beneath from UV rays, minor abrasions, and contaminants. Since these scratches do not penetrate beyond the clear coat, they are considered the least severe type of scratch a car can sustain.
Removal Technique: The removal of clear coat scratches is relatively straightforward and can often be accomplished with DIY methods. The key to effectively removing these scratches lies in using a high-quality automotive polish. Here’s a step-by-step approach:
Clean the Area: Before attempting any repair, thoroughly wash and dry the scratched area to remove any dirt or debris that could cause further scratching during the polishing process. Applying a surface prep and having a clean polishing pad is critical for best results.
Apply Automotive Polish: Select a high-quality automotive polish designed for clear coat repair. Apply a small amount of polish to a microfiber cloth or a foam polishing pad. It's essential to use microfiber or foam to avoid adding more scratches. Additionally, a dual-action polisher is best for beginners as it takes less clear coat off compared to a standard orbital polisher.
Polish the Scratch: Using gentle pressure, work the polish into the scratch in a circular motion. The abrasive properties of the polish will gently wear down the clear coat around the scratch, making the scratch less visible by leveling the clear coat surface.
Buff and Inspect: After polishing, use a clean microfiber cloth to buff the area. Inspect the scratch from multiple angles and in different lighting conditions to ensure it has been effectively minimized or removed. Repeat the process if necessary.
Protect the Area: Once satisfied with the results, apply a car wax or sealant to the treated area to protect the newly exposed clear coat layer from the elements. Ceramic coatings are also an excellent solution.

Paint Scratches
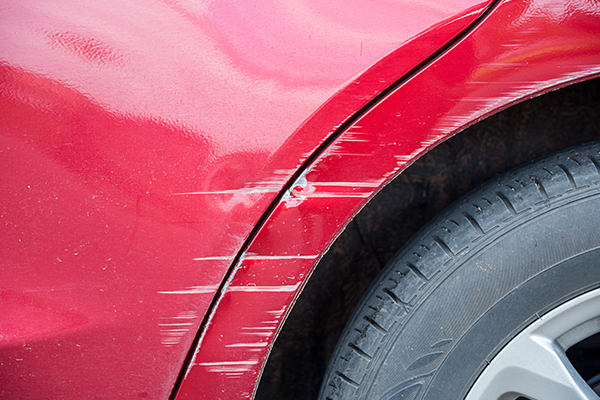
Description: Paint scratches are more severe than clear coat scratches as they extend beyond the clear coat into the paint layer itself. However, they do not reach the primer or metal beneath. These scratches are more noticeable and can affect the vehicle's color and appearance significantly.
Removal Technique: Removing paint scratches requires a more detailed process that may involve sanding, compounding, and sometimes touch-up paint, depending on the scratch's depth and severity.
Sanding (if necessary): For deeper paint scratches, lightly sand the area with fine-grit sandpaper (e.g., 2000-3000 grit) to prepare it for compounding. This step should be done with great care to avoid removing more paint than necessary.
Apply Compound: Use a rubbing compound designed for scratch removal. Apply the compound to a clean microfiber cloth or a foam applicator pad and work it into the scratch using circular motions. The compound acts as a finer abrasive to smooth out the edges of the scratch and blend it with the surrounding paint.
Polishing: After compounding, use a fine polish to restore the shine to the treated area and blend it further with the surrounding paint.
Touch-Up Paint (if needed): For scratches that are too deep to be completely removed with compounding and polishing alone, applying touch-up paint may be necessary. Match the paint to your car's color code and apply it carefully, following the manufacturer's instructions.
Protect the Area: Apply a car wax or sealant to protect the repair and maintain the shine. Again, we are taking layers of clear coat off when polishing or sanding. A ceramic coating can add thickness to your clearcoat and prevent against future scratches and swirls.

Deep Scratches
Description: Deep scratches are the most severe form, penetrating through the paint layer and reaching the primer or even the bare metal. These scratches require immediate attention to prevent rust and further damage to the vehicle's body.
Removal Technique: Deep scratches usually require professional repair, but here’s an overview of the process used:
Sanding: The area around the scratch is sanded down to remove any rust and to create a smooth surface for the filler if the scratch has reached the metal.
Applying Filler: If the scratch has created a significant groove in the surface, a body filler may be used to fill the gap. Once applied, the filler is allowed to dry and then sanded smooth.
Priming: The repaired area is then primed to prepare it for painting, ensuring that the paint adheres properly and the repair blends seamlessly with the surrounding area.
Painting: The primered area is painted to match the car's original color. This step often requires a professional color match to ensure the new paint blends indistinguishably with the car's existing paint.
Clear Coat Application: A new clear coat is applied over the painted area to protect the paint and restore the glossy finish of the original paint job.
Polishing and Protecting: Finally, the area is polished to ensure that the new clear coat blends smoothly with the existing clear coat. A protective wax or sealant is applied to shield the repair from the elements.

Protecting Your Car Post-Scratch Removal
Waxing
Regular waxing serves as an essential maintenance routine to safeguard your car's paint. By applying a quality wax, you create a protective barrier that not only enhances the vehicle's shine but also helps prevent new scratches from forming. This layer repels water, dirt, and other contaminants, ensuring the paint remains in top condition.
Ceramic Coatings
For those seeking the ultimate in paint protection, ceramic coatings offer a superior solution. These advanced coatings provide a durable shield against scratches, UV damage, and environmental pollutants. Unlike wax, which needs periodic reapplication, ceramic coatings can last for years, offering long-lasting gloss and enhanced paint protection.
When to Seek Professional Help
While minor scratches can often be handled at home, deeper or more extensive damage requires professional expertise. Our team at Next Level Detail uses advanced techniques and high-quality materials to ensure the best possible results, guaranteeing your satisfaction and preserving the value of your vehicle.
Conclusion
Maintaining your car's appearance requires attention to detail and the right techniques, especially when it comes to scratch removal. Whether you're tackling minor clear coat scratches or need professional assistance for deeper damage, our guide provides the insights you need to keep your car looking its best. Remember, preserving your car's exterior not only enhances its appearance but also its resale value. For the best results and peace of mind, consider our professional car detailing services for polishing paint and removing scratches.
Contact Us
For professional polishing and scratch removal services, contact us today. Our team of experts is dedicated to restoring your car's pristine condition, ensuring it reflects your standards and your smile 😊

